New beading tutorial! Finally!
I call them Cascade Earrings. They’re for those of us who like itty bitty seed beads. 
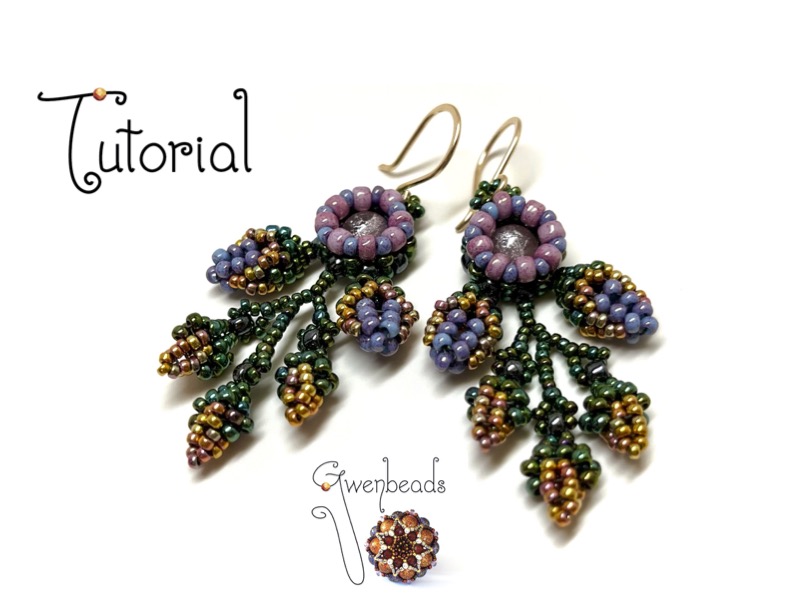
Find it here:
New beading tutorial! Finally!
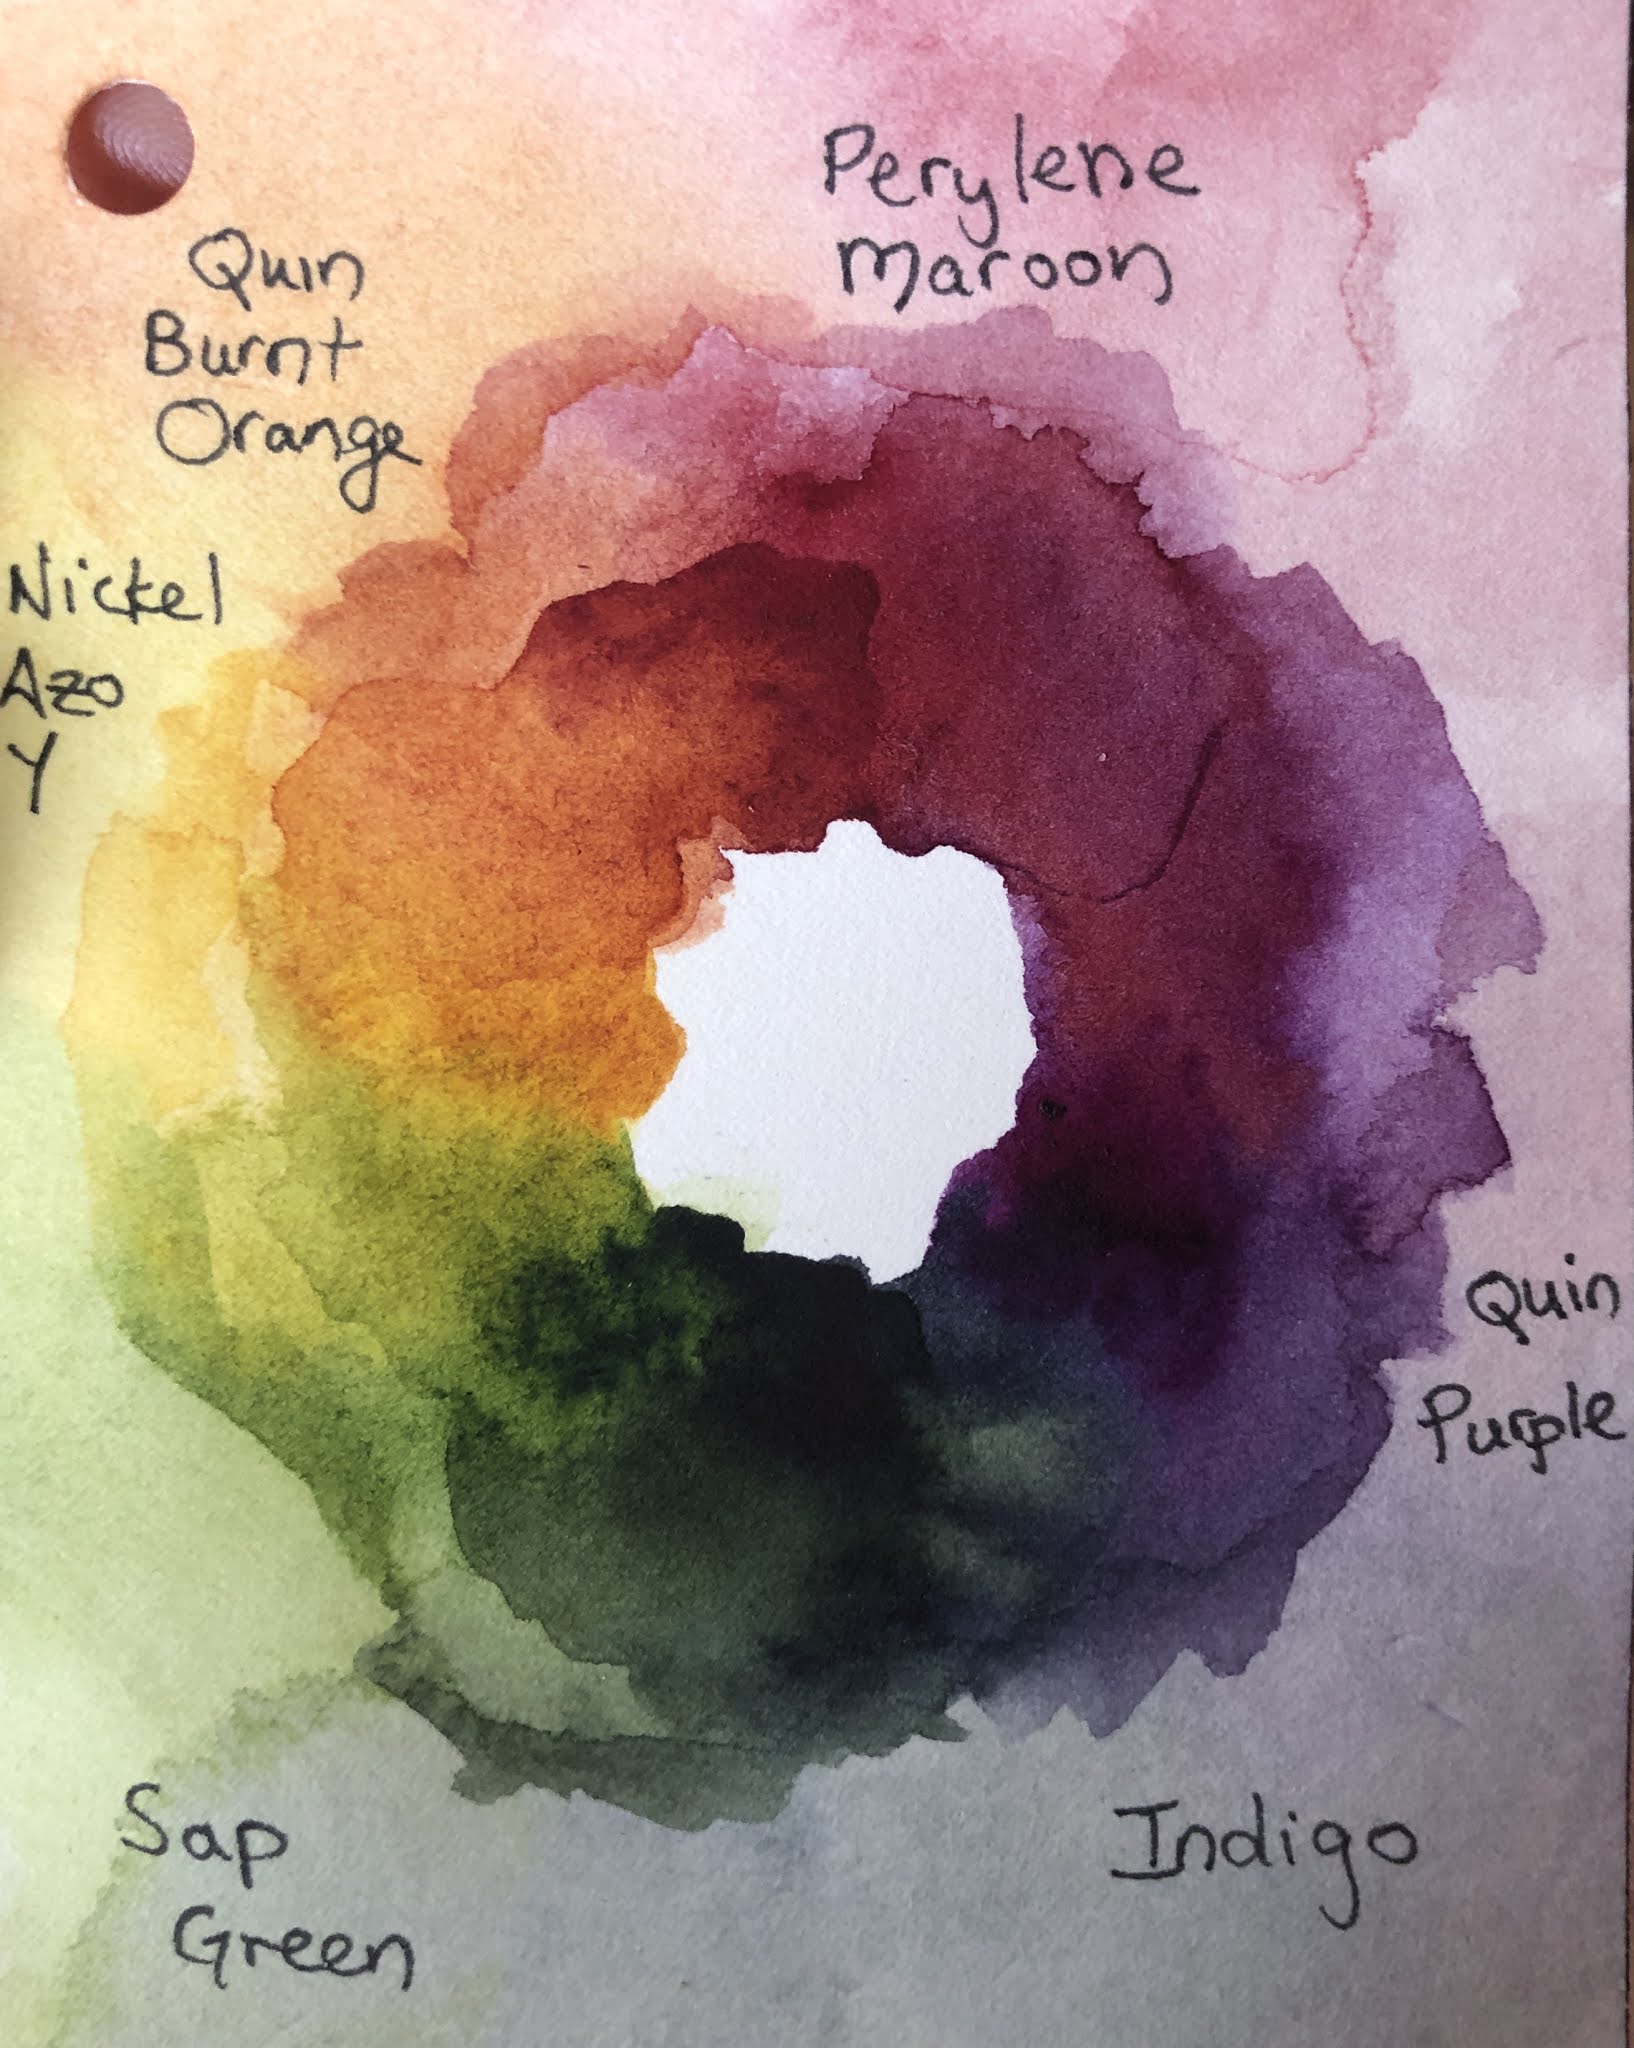
My new watercolor tutorial on color wheels gives an advanced beginner’s lesson on how to paint artistic color wheels in a full rainbow of colors.

Learn
how to paint extraordinary color wheels using just 2, 3, 4 or 5
pigments. The tutorial include 4 projects, explained over 29 pages,
including 77 illustrations and full color photographs of 7 paintings
that are all explained in the text. This tutorial includes templates for
4 different projects for you to trace or copy.

Start with
detailed step-by-step instructions for a painting that uses just two
pigments. From there you will learn to mix three, four, and even five
pigments to create increasingly complex compositions. There is lengthy
discussion about choosing specific pigments for each of the four
projects so you can do the projects more than once and get different
effects depending upon the colors you start with. If you love colors,
you'll love this tutorial on painting color wheels and making the projects.

Tools &
Materials: watercolor paint, watercolor paper, palette with wells for
mixing colors, pencil, kneaded rubber eraser, brushes: round size 3 and 6
(or similar), cup(s) of water, water dropper, paper or cloth towel,
hair dryer, and a way to transfer the templates (discussed in the text).
Don’t just make swatch charts. Make art.
My favorite art to make lately has been painting color wheels with watercolor paint. This probably my favorite one so far. It is a color study of five pigments.


Sometimes I paint little color wheels to test out colors or an idea for future reference. I made this color wheel to test out a very red heavy color wheel. It uses both black and red ink.


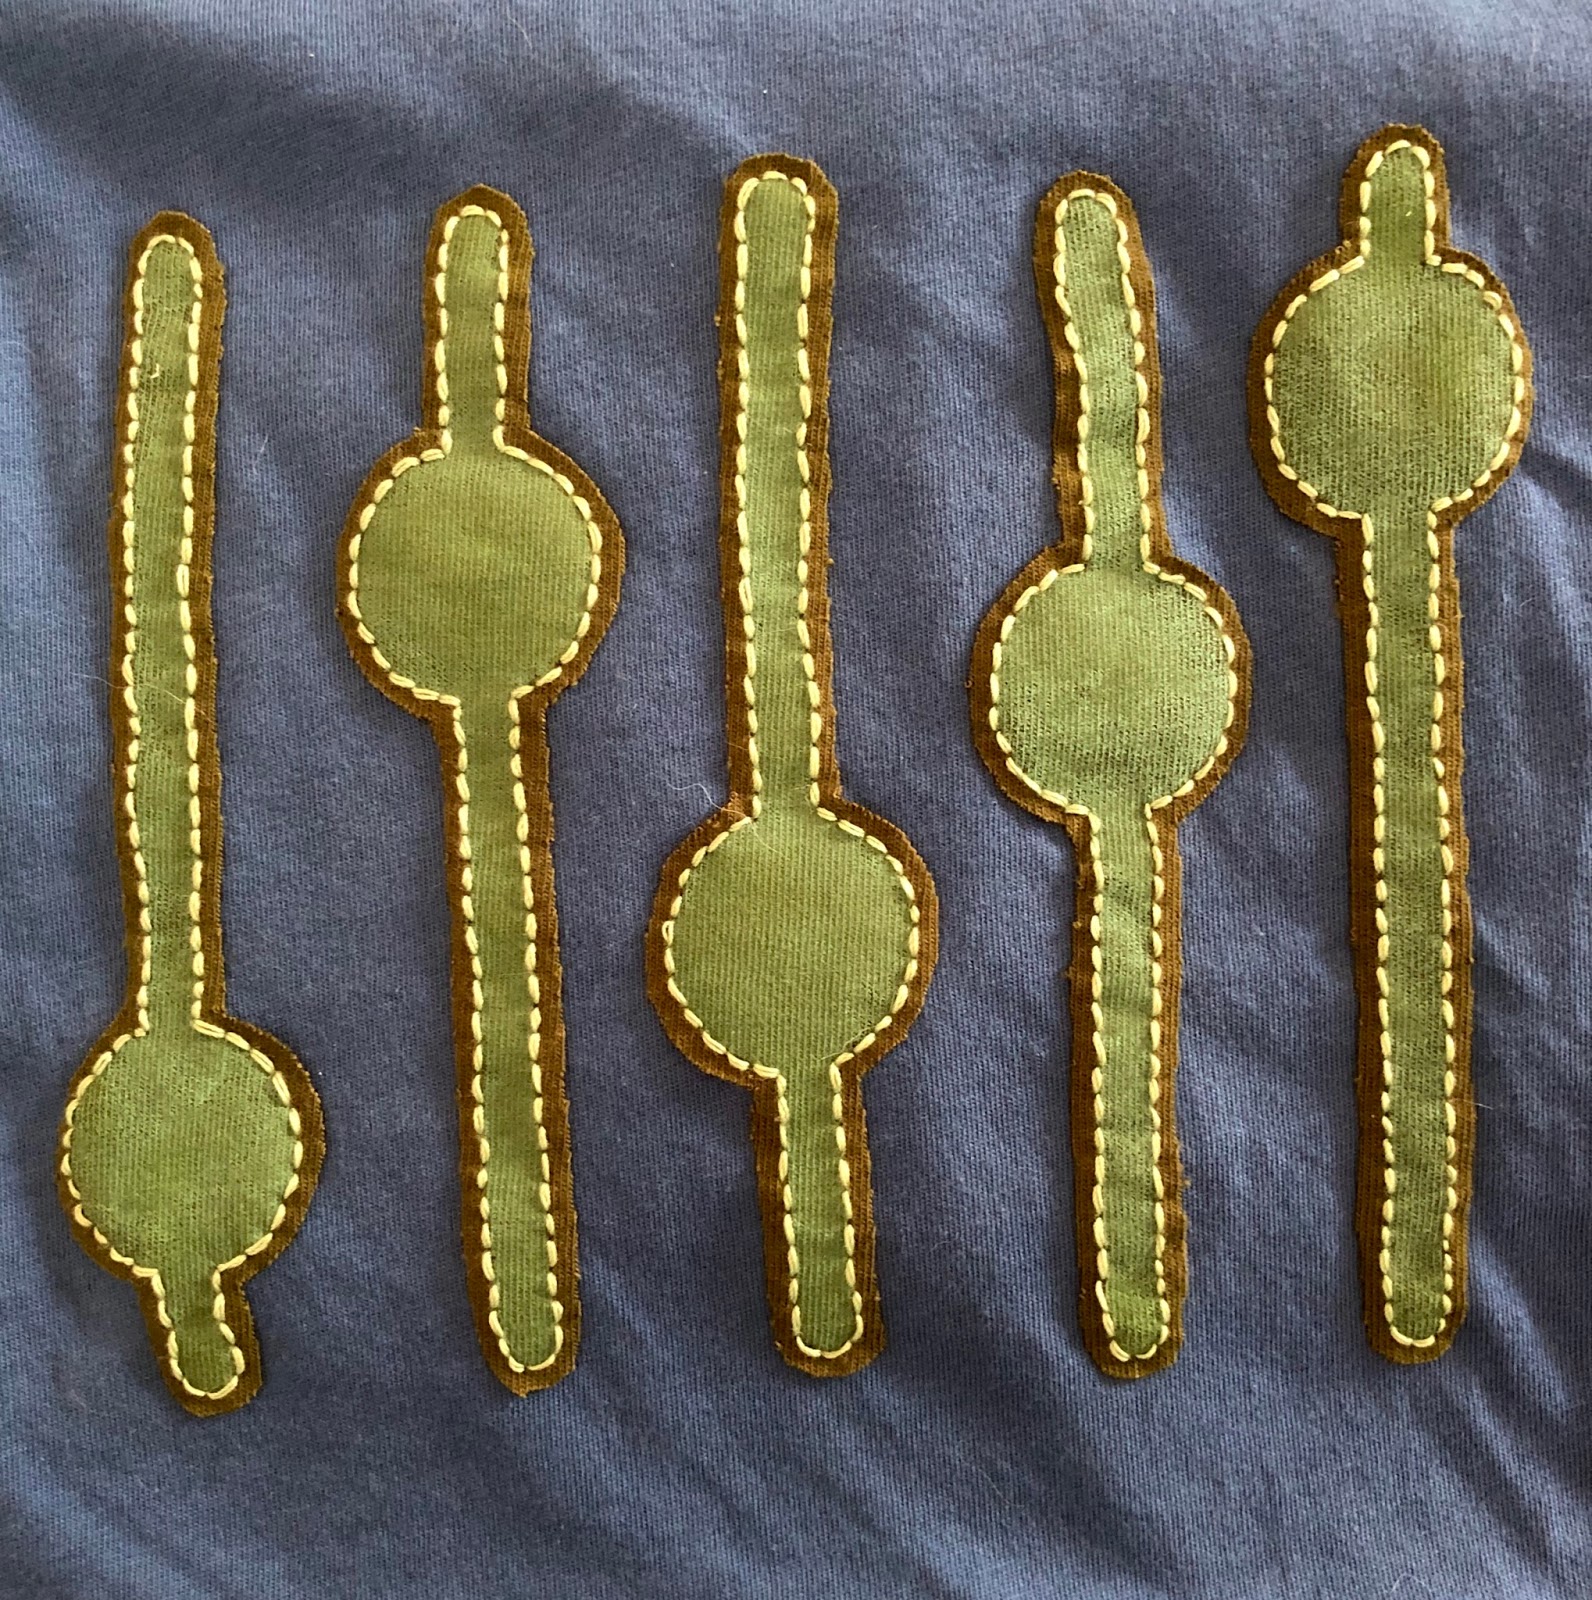
I'm making myself a little book of color swatches, including a few color wheel, such as this one.
I used that one to help me paint this piece.

Some of my color wheels use a combination of traditional watercolor paint and mica paint, which looks metallic and flashes in the light. See the rainbow flash?


This color uses two reds, two yellows, and two blues, mixed in pairs.


This color wheel also uses two yellows, two reds, and two blue, plus I used colored pencil on top to add the shading.


